Your guide to the Web Summit mobile app
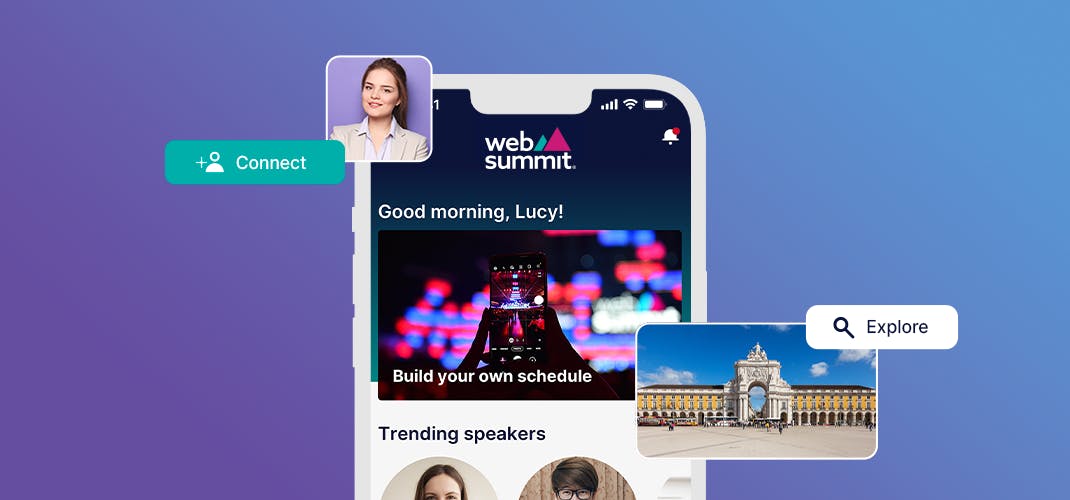
Web Summit is just around the corner! Here are some tips for making the most of your event companion – our mobile app.
With the excitement of checking out our latest high-profile speakers, noting your favourite talks and planning your trip to Lisbon, you may feel overwhelmed about setting up Web Summit’s custom-built mobile app.
To help you out, we’ve created a guide to bring you through everything on the mobile app, from accessing your tickets to creating your profile – and more.
Accessing your ticket
If you’ve already downloaded the Web Summit mobile app, you can access your ticket from the ‘My ticket’ tab, which you will find by tapping the menu icon (≡) in the top left corner of the app. On this tab, you will find your unique QR code, which gives you access to the Web Summit event.
If you have any problems accessing your ticket, visit the Web Summit ticket dashboard.
Logging in to the mobile app
Once you receive your ticket, download our mobile app from the App Store or Google Play Store and log in using the email associated with your ticket or your ticket reference code.
You’ll first need to fill out your personal information and interests on your event profile. This will allow fellow attendees to check out your profile and interact with you on the app. The information you provide will also help to generate personalised recommendations for talks to attend and people to connect with.
The information we will request includes:
- Basic personal information, including your job title and where you’re based
- Topics you’re interested in and topics you have expertise in
- A profile picture to make your app profile more personal
Once you’ve entered these details, you will be taken to the mobile app home screen.
In the mobile app
Exploring talks and building your schedule
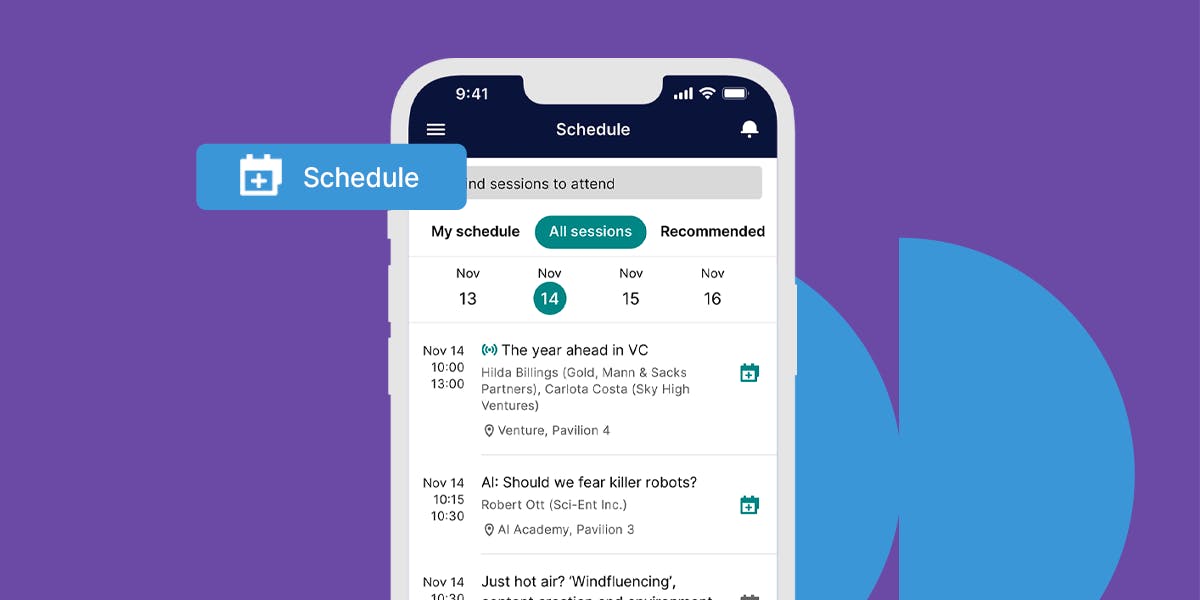
Image: Web Summit
Discovering new talks
The ‘Schedule’ tab, located on the menu bar at the bottom of your app screen is your first stop. Here, you’ll find all talks, masterclasses, Q&As and experiences taking place at Web Summit 2023. The ‘Schedule’ tab shows the full lineup of sessions and events, listing where they’ll take place and the topics they’ll cover.
Searching for talks
Alternatively, the ‘Explore’ tab, located at the bottom right of the app screen, allows you to quickly find talks and other sessions based on track, date, topic or content format. Select the ‘Filters’ icon at the bottom right corner to refine your search.
Adding talks to your event calendar
When you’ve found a talk you’re interested in on the ‘Schedule’ tab, tap the calendar icon to the right of the title. This will add the session to your personal event calendar.
Checking your event calendar
View your personal event calendar by tapping on the ‘Schedule’ tab at the bottom of your app screen and then selecting ‘My schedule’ from the menu on the upper left side of the screen.
Finding attendees, messaging and organising meetings
Searching for attendees
To find attendees to connect with, start with the ‘Explore’ tab, located at the bottom right of the app screen. Tap the ‘People’ filter at the top left of the screen.
Scroll through our full list of attendees, which includes speakers, investors, startup founders and members of the media and filter people based on their role, industry and location using the ‘Filters’ button. Alternatively, search for attendees by name or company by using the search bar at the top of the screen.
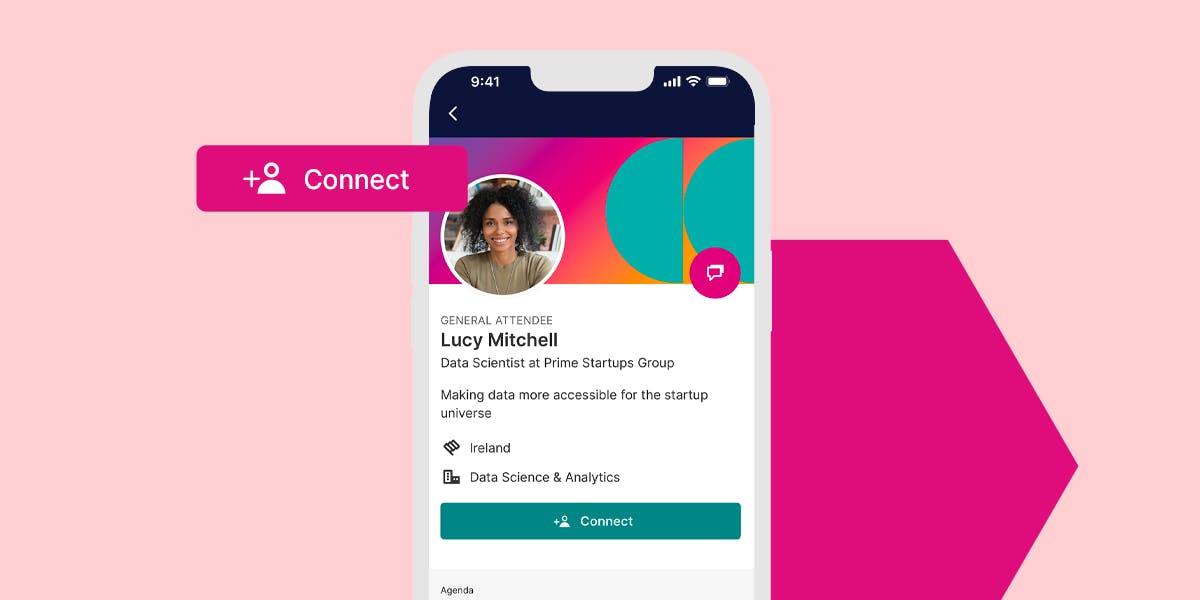
Image: Web Summit
When you’ve found someone you want to connect with, visit their event profile and tap the ‘Connect’ button.
Connect with attendees you meet in person using the QR code icon at the bottom of your app screen and scanning another attendee’s lanyard. This will import their event profile information directly to your mobile app.
Sending a message
To start a conversation with another attendee, tap the ‘Chats’ tab at the bottom of your app screen. This will take you to to your full conversation history and message requests. From this screen, tap the message icon and search for an attendee you’d like to reach out to.
Message attendees by searching for their name on the ‘Explore’ tab, tapping their event profile and selecting the chat icon.
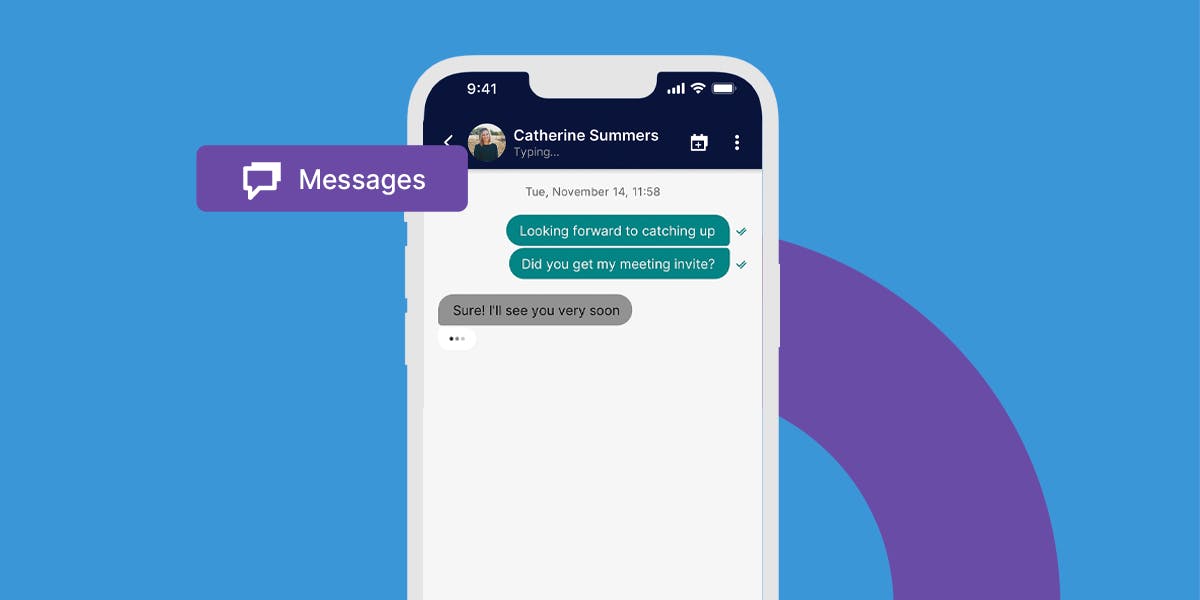
Image: Web Summit
Setting up a meeting
To set up a meeting with an attendee, use the ‘Explore’ tab, located at bottom right of the app screen. Select the ‘People’ filter and scroll through our attendee list. Filter people by role, industry and location using the ‘Filters’ button, or search for an attendee you want to meet with by using the search bar at the top of the screen.
Arrange meetings with existing connections by tapping the menu icon (≡) in the top left corner of the app, selecting ‘Connections’ and selecting who you’d like to meet.
Once you are on the attendee’s profile, scroll down to tap ‘Request a meeting’, and fill out the relevant information. This attendee will then receive a notification and, if they accept the request, the meeting will be added to your personal event calendar.
You can also schedule a meeting by tapping on the ‘Schedule’ tab at the bottom of your app screen. From there, select ‘My schedule’, tap the ‘Create meeting’ button, input all of the meeting details and add participants.
Checking your connections and importing contacts
Checking and exporting connections
Once you have connected with attendees through the app, view this list of connections by tapping the menu icon (≡) in the top left corner of the app and selecting ‘Connections’.
You can also export the connections you make during Web Summit to follow up and stay in contact with people after the event. To do this, go to the ‘Connections’ tab, select ‘Accepted connections’ and tap the download icon in the top right corner of the screen. This will automatically send your connection list to the email address associated with your app profile.
Importing contacts
The ‘Contacts’ tab allows you to automatically add contacts from your mobile device to the Web Summit app. You can also securely connect your phone contacts to the event app. To import your contacts, tap the menu icon (≡) in the top left corner of the app and select ‘Contacts’. From there, tap the ‘Securely sync your device contacts’ button and follow any device prompts.
Editing your profile and changing app settings
Editing your profile
If you want to edit your profile to update your contact information, tweak your highlighted interests or swap out your profile picture, go to the main menu by tapping the menu icon (≡) in the top left corner of the app. Select ‘Profile’ and tap the pen icon in the upper right corner to edit your information.
Changing app settings
You can change your app settings, including the displayed time zones, by tapping the menu icon (≡) in the top left corner of the app and selecting ‘Settings’.
Download the app today to get the most of the event.
Image Credit: Web Summit
